Embrace Creativity

Tuesday, August 26, 2014

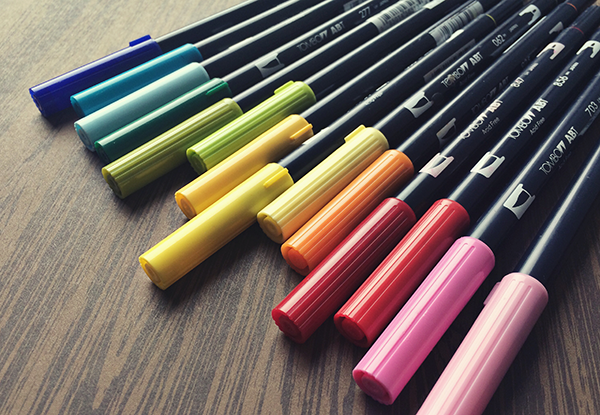
Tombow Markers
Last week I came across an article titled, Crush The I'm Not Creative Barrier, and I paused. 

Working for a paper arts company I hear the statement, "I'm not creative" far too often from family, friends, and clients. It makes me cringe. The single sentence rips through my brain and heart, taking every bit of self control to not let the desire to smack the person who said it win. So let me take a moment to say something about it. A public service announcement, if you will. 

You may not be expressively creative. You may not consider yourself an artist. However, you have the ability to problem solve, to invent, and to create. Business and engineering, not just design fields, require innovation and CREATIVITY. The article I mentioned above suggests five statements that are significant ideas to practice. So give yourself some credit, and THINKObserve and experiment. And then encourage others, especially children, to create right alongside you.

Maybe you're just like the numerous clients that walk into our store and feel defeated by the act of creating an artistic piece. Again, stop it. The very definition of create is to make or bring into existence something new. So don't' hold back. Let go of all that insecurity, pressure, and judgement. Just create. Put that pen to paper. Glue that picture in place. The ladies of A Beautiful Mess wrote an insightful article on just this. I encourage you to read that article too, and get to work making something. Anything.

You have the ability to be creative. Allow yourself to be creative. You are creative.

Card Making Monday : Happy Birthday

Monday, August 25, 2014

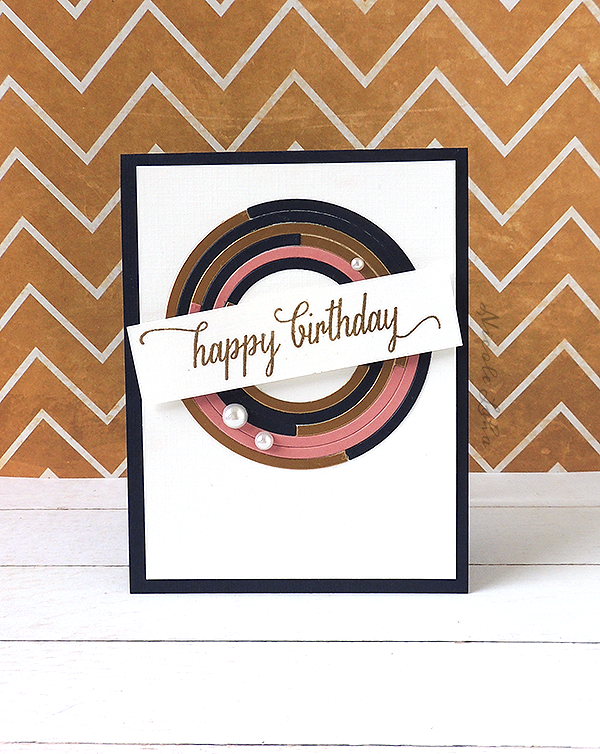
One of my favorite card makers is JJ Bolton. I'm constantly inspired by her great ideas, and this card is no exception. For today's post, I created a card using her rings of gold as inspiration. 

Paper Smooches Rainbow Die
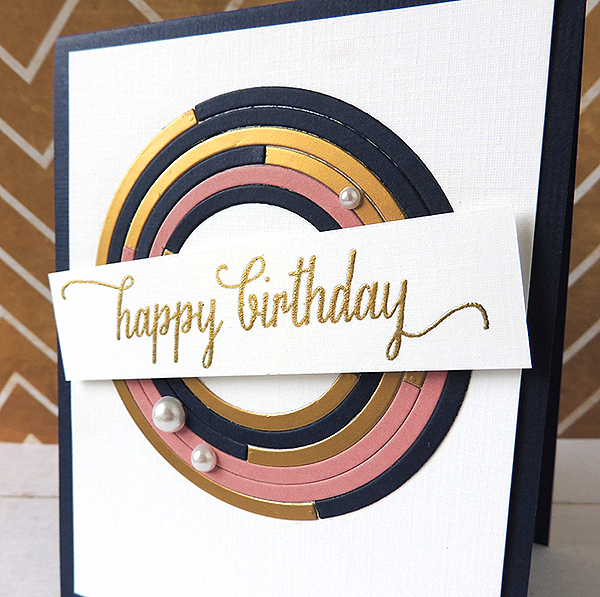
The rings were cut from gold, pink, and dark blue cardstock using the Paper Smooches Rainbow die. I started with the two largest pieces, adhering them in place to create a full circle. It was easy to fit the smaller pieces into place from there. I made sure none of the seams connected to create a graphic element. To finish the card, I heat embossed the sentiment in gold and added a few pearls.

Paper Smooches Rainbow Die
This experiment has me looking at dies in a new way. Who would have thought this card was created with a rainbow die?! 

SUPPLIES :: Paper Cut Cardstock / Melissa Frances White Pearls / Hero Arts Stamp Set / Ranger Princess Gold Embossing Powder / VersaMark Watermark / Paper Smooches Rainbow Die

Just A Few Things...

Friday, August 22, 2014

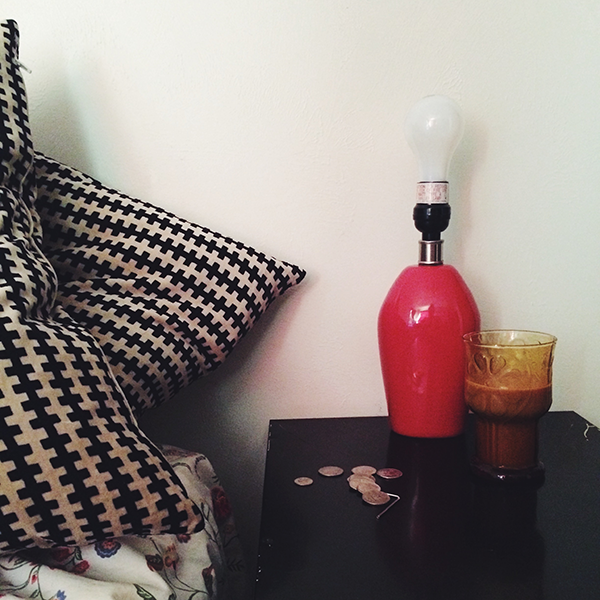
1. Lampshades are important, but not as much as chocolate milk.

Nightstand
2. Jerrod Carmichael is an amazing comedian, and I'm psyched and ready for his HBO special. I fell in love when I first heard him say, "$30 could change everything. I'm one overdraft fee from bankruptcy." He gets me. I recently saw him live, and he killed it, which is why I was so pleased to read this article referencing it. He's anything but politically correct, almost offensive, and I can't get enough. 

3. Flowers + Sunshine. Just a few more weekends of summer left here in Wisconsin. 

Farmer's Market Flowers
4. Hello Giggles featured must-make recipes containing the bottom tier of my food triangle, Nutella. Let's get together and try them all tonight. 

5. You wash. I'll dry. 

Housework
6. This Pinterest board full of piƱata DIY ideas? Yes.

7. I'm back to blogging and face-a-bookin' and instagraming. Let's do this.

Stamping Clear Stamps

Card Making Monday: Wish Upon A Star

Monday, August 11, 2014

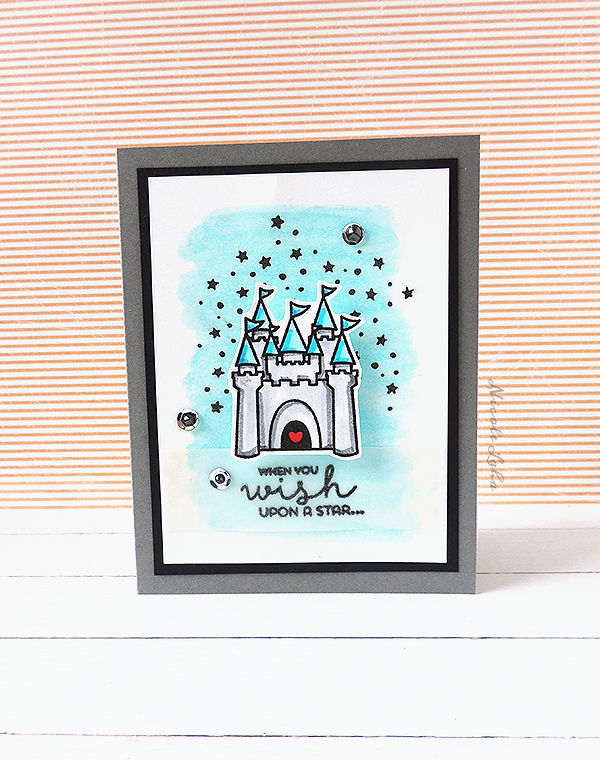
Happy Monday! I hope everyone had a great weekend. I headed into the studio early this morning for a card making session and came out with this fun card... 

Sweet Stamp Shop Castle Card
I tried a few different things with gelatos before settling on just one color. I scribbled a blue gelato on watercolor cardstock and used a water brush to smooth it out. It created a light, watercolor-like background. The small star stamp from Sweet Stamp Shop's Enjoy Calligraphy set was used to add to the background. It went perfectly with the sentiment and image from the Royal Wish set I had planned to use.

Wish Upon A Star Card
The sentiment was heat embossed on vellum while the castle was stamped and colored quickly with Tombow markers. I used a darker color marker to add a few quick lines of shading rather than carefully blending.

Gelato Background Card Making
I couldn't resist adding just a few sequins with a small amount of Liquid Pearls dropped in the center. Too cute! I'm in love with this release from Sweet Stamp Shop. Check out their full line of stamps here.

SUPPLIES :: Paper Cut Cardstock, Watercolor Paper, Vellum / Sweet Stamp Shop Enjoy Calligraphy & / VersaFine Onyx Black Ink / VersaMark Watermark / Ranger Clear Embossing Powder / Silver Sequins / Black Liquid Pearls / Tombow Markers / Faber-Castell Gelatos

TOOLS :: Tonic 12" Guillotine / Acrylic Block / MyStik Permanent & Vellum Adhesives / Scrapbook Adhesives 3D Foam Squares 

Card Making Monday: Artful Backgrounds

Monday, August 4, 2014

Hello! I took a month-long break from crafting to focus on some personal, home, and work related items...  But now I'm back in the studio and couldn't be happier. I got my hands on a few new stencils and a container of embossing paste, the latter I may need an intervention from. I can't stop using this stuff! Here's what I ended up creating this morning... 

Judikins Background Stencil With Embossing Paste
To create the background, I started with a few Distress Ink Pads. The ink color was added directly to a craft sheet and misted with water. Next, I dragged and dropped a piece of watercolor paper through the ink. This is one of my favorite faux watercolor techniques. I used a heat tool on a low setting to dry between layers of ink until I had a background I preferred. 

After that, I sloppily added a thin layer of white embossing paste with the help of a palette knife and stencil. I really wanted this card to be a mess of art supplies, and I think I got it! 

I had planned to cut down this piece but decided in the end to make it the entire card background. That texture is just to die for! Two strips of cardstock and a stamped image from Hero Arts completed the card. 

Hero Arts Just Saying Hello
So much fun! It's great to be back. 

SUPPLIES :: Paper Cut Cardstock & Watercolor Paper / Distress Inks (Scattered Straw, Fired Brick, Broken China) / Dreamweaver Embossing Paste / Judikins Stencil / Hero Arts Clear Stamps / VersaFine (Onyx Black)

TOOLS :: Palette Knife / Painter's Tape / Inkssentials Craft Sheet / Heat Tool
Proudly designed by Mlekoshi pixel perfect web designs